How To Remove Scratches From Motorcycle – The Ultimate 2024 Guide
Scratches on your motorcycle can be frustrating and negatively affect its appearance and value. Whether the scratches are minor surface blemishes or deeper ones, learning how to remove scratches from your motorcycle correctly can save you money and keep your bike looking brand new. In this comprehensive guide, we’ll walk you through expert-approved methods to tackle scratches of all kinds on your motorcycle’s paint, plastic, and chrome parts.
Why Removing Motorcycle Scratches Is Important
Scratches not only detract from your motorcycle’s aesthetics but can also lead to long-term damage if left untreated. Paint scratches expose the metal underneath to moisture and debris, leading to rust and corrosion. Moreover, a well-maintained bike holds better resale value and reflects your passion and care as a rider.
Types of Scratches on Motorcycles
Understanding the type of scratch you’re dealing with can help you choose the right method for removal. Here are common scratch types:
- Surface Scratches: Minor swirls or superficial marks that affect only the clear coat.
- Light Scratches: Penetrate the clear coat but not the base paint layer.
- Deep Scratches: Go through the paint layers down to the metal or plastic.
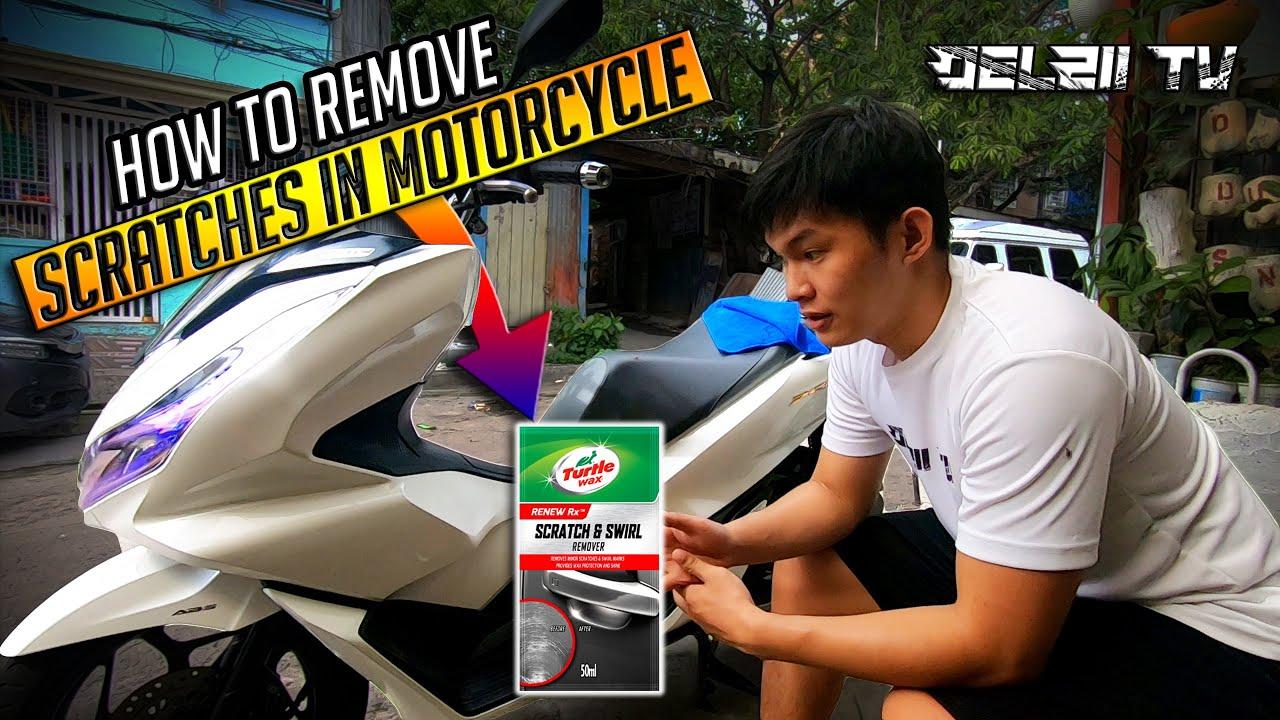
Essential Tools & Products Needed
Before starting, gather these key items to effectively remove scratches from your motorcycle:
- Microfiber cloths
- Sandpaper (2000-3000 grit)
- Scratch remover or rubbing compound
- Polishing compound
- Touch-up paint (if necessary)
- Wax or sealant
- Clay bar kit (optional for surface prep)
- Plastic polish for clear plastics
Step-by-Step Guide: How To Remove Scratches From Motorcycle
1. Clean the Area Thoroughly
Begin by washing the scratched area with mild soap and water. Remove dirt, grease, and grime with a microfiber cloth to prevent further scratching during the repair.
2. Assess the Depth of the Scratch
Run your fingernail over the scratch. If your nail catches, it’s likely a deep scratch requiring more extensive repair. Surface scratches can usually be polished out.
3. Use a Clay Bar (Optional)
Clay bars remove embedded contaminants. Lubricate and gently glide the clay bar over the scratch area to provide a smooth surface for polishing.
4. Apply Scratch Remover or Rubbing Compound
Apply a small amount of scratch remover or rubbing compound onto a microfiber cloth. Using circular motions, buff the scratched area gently but firmly. This process smooths out the clear coat and blends the scratch.
5. Sand Lightly for Deeper Scratches
If the scratch is deep, wet-sand it with 2000-3000 grit sandpaper. Soak the sandpaper in water and gently sand the affected area until smooth, being careful not to remove too much paint.
6. Use Touch-Up Paint for Very Deep Scratches
For scratches that go through the paint, apply touch-up paint matching your motorcycle’s color code. Use a fine brush and build up layers as needed. Let dry fully before polishing.
7. Polish the Surface
Once the scratch is less visible or repaired, use a polishing compound with a clean microfiber cloth to restore shine and blend the repaired area seamlessly with the rest of the paint.
8. Apply Protective Wax or Sealant
Seal your repair with wax or paint sealant to protect the paint and enhance gloss. This also prevents future scratches and environmental damage.
Tips for Removing Scratches from Different Motorcycle Surfaces
| Surface Type | Recommended Scratch Removal Method | Additional Tips |
|---|---|---|
| Painted Metal | Rubbing compound + touch-up paint for deep scratches | Use color-matched paint and seal afterward |
| Plastic Fairings | Plastic polish + gentle sanding if needed | Avoid harsh solvents to prevent damage |
| Chrome Parts | Chrome polish or aluminum foil & water for light scratches | Don’t use abrasive pads that can scratch further |
| Windshield or Visor | Plastic polish or specific headlight restorers | Avoid heavy sanding; test on small area first |
Benefits of Removing Scratches from Your Motorcycle
- Restores Aesthetic Appeal: Makes your bike look almost new.
- Prevents Rust: Protects exposed metal from moisture damage.
- Preserves Resale Value: Well-maintained bikes fetch better prices.
- Enhances Riding Confidence: Enjoy riding a clean, damage-free motorcycle.
Practical Tips to Prevent Future Scratches
- Always park your motorcycle away from crowded or hazardous spots.
- Use motorcycle covers when not in use.
- Clean your bike regularly to avoid dirt buildup that can scratch paint.
- Apply ceramic coating or paint protection film for added defense.
Real-Life Case Study: Removing Scratches from a Sportbike
John, an avid rider, found several light scratches on his sportbike’s fuel tank after a parking lot mishap. He followed these steps:
- Washed and dried the tank thoroughly.
- Used a clay bar to prep the area.
- Applied a rubbing compound with a microfiber cloth, buffing in circular motions.
- Polished the tank and finished with a wax coat.
After the repair, the scratches were virtually invisible, restoring John’s bike to showroom condition without costly professional work.
Conclusion
Removing scratches from your motorcycle is not only achievable but also highly rewarding when done right. Whether you’re tackling minor surface blemishes or deep scratches, using the appropriate methods and products ensures your motorcycle stays beautiful and protected. By investing a little time and care, you extend the life and value of your beloved bike, making every ride a source of pride. Follow this guide, keep up with preventative maintenance, and enjoy riding on a scratch-free motorcycle!


